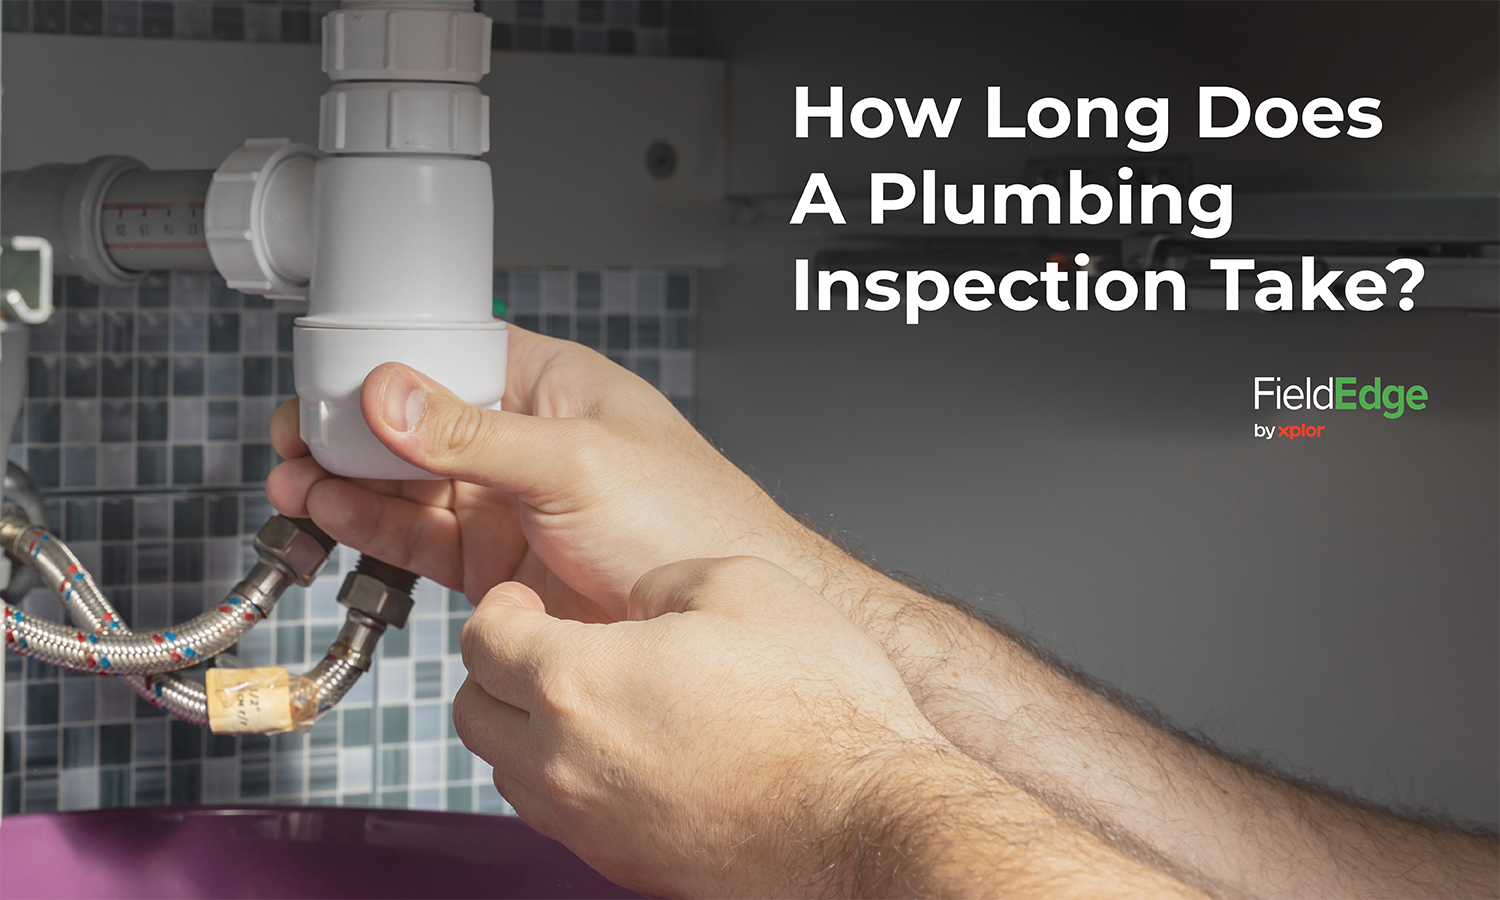
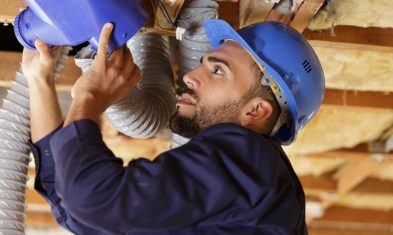
When it comes to maintaining a smoothly running plumbing system, regular inspections are key. For the trained plumber, this means additional work outside the general installations and repairs commonly performed. For a homeowner or business, these inspections help mitigate problems down the line and many times are required. But just how long does a plumbing inspection take?
In this article, we’ll break down everything you need to know about the timing of plumbing inspections:
- Factors that influence the duration of an inspection
- Tips for scheduling and preparing for an inspection
- Strategies for conducting thorough inspections
Factors Influencing the Duration of an Inspection
There are several factors that can influence the answer to the question: how long does a plumbing inspection take? These include:
- Size and Complexity of the Property: Larger properties (or those with complex plumbing systems) may require more time to inspect thoroughly. For example, a multi-story commercial building with extensive piping systems may take longer to inspect than a small residential home.
- Age and Condition of the Plumbing System: Older plumbing systems (or those in poor condition) may require more time to assess for potential issues or maintenance needs. You may need to spend extra time inspecting older pipes for signs of corrosion or leaks.
- Scope of the Inspection: The scope of the inspection can vary depending on whether it’s a routine maintenance check or a more comprehensive assessment to identify specific issues. A routine inspection may focus on checking for leaks, testing water pressure and inspecting visible pipes and fixtures, while a more comprehensive inspection may involve using specialized equipment to detect hidden leaks or blockages.
- Accessibility of Plumbing Fixtures and Components: Ease of access to plumbing fixtures, pipes and other components can impact the efficiency of the inspection process. If certain areas of the plumbing system are difficult to access (e.g. pipes located behind walls or under floors), you may need to spend more time accessing these areas.
The Answer: How Long Does a Plumbing Inspection Take?
While the duration of a plumbing inspection can vary depending on the factors mentioned above, a typical inspection may take anywhere from:
- 1 to 3 hours for a visual routine inspection
- Camera inspections typically take longer
It’s important to note that these are general estimates and the actual duration of an inspection may vary based on the specific circumstances of each property.
Tips for Scheduling and Preparing for Inspections
To ensure a smooth and efficient plumbing inspection process, consider the following tips:
Schedule the Inspection and Follow Up
When scheduling the inspection let the customer know the cost of the inspection. Follow up with them with a reminder and notify them when you are on your way.
By the way, did you know you can automate service reminders in FieldEdge?
Remind Customers About Clear Accessibility
Plumbing fixtures, pipes and other components need to be easily accessible so you can perform the inspection. Make sure the customer clears away any clutter or obstacles that may impede the inspection process.
Communicate Any Specific Concerns
Ask any questions in advance of the scheduled inspection. If there are specific concerns or areas of the plumbing system that the customer wants you to focus on, it’s good to communicate these in advance. This will help you prioritize your efforts and address any issues that are important to your client.
Importance of Regular Inspections
Regular plumbing inspections are essential for maintaining the health and functionality of your client’s plumbing system. By identifying and addressing potential issues early on, you can prevent costly repairs and extend the lifespan of your client’s plumbing systems.
Additionally, routine inspections can help ensure that your client’s plumbing system is operating efficiently, which can save them money on water bills and reduce the risk of water damage to their property.
Tips For Plumbers Conducting Inspections
As a plumbing business performing plumbing inspections there are a few things to keep in mind:
- Arrive Prepared: Before heading to the inspection, review any relevant information about the property, such as its size, age and previous plumbing issues. Bring along any necessary tools, equipment and paperwork to facilitate the inspection process.
- Thoroughly Inspect All Plumbing Fixtures and Components: Take the time to inspect all plumbing fixtures and components, including sinks, toilets, showers, bathtubs, faucets, pipes, water heaters and drainage systems. Look for signs of leaks, corrosion, damage or wear and tear.
- Check Water Pressure and Flow: Test the water pressure and flow in each fixture to ensure that they are functioning properly. Low water pressure or poor water flow could indicate issues such as clogged pipes or faulty valves.
- Inspect for Signs of Water Damage: Look for signs of water damage, such as water stains, mold, mildew or warped walls and ceilings. These can indicate hidden leaks or drainage problems that need to be addressed.
- Check for Proper Ventilation: Inspect ventilation systems, such as exhaust fans and vent pipes, to ensure that they are properly installed and functioning. Poor ventilation can lead to moisture buildup and mold growth, which can cause health problems and damage to the property.
- Test Drainage Systems: Test drainage systems by running water through sinks, showers and toilets and observing how quickly the water drains away. Slow drainage could indicate clogged or blocked pipes that need to be cleared.
- Look for Code Violations: Familiarize yourself with local plumbing codes and regulations and ensure that the property’s plumbing system complies with these standards. Look for any code violations, such as improper pipe installation or inadequate drainage systems and recommend corrective actions as needed.
- Document Findings and Recommendations: Take detailed notes and photographs during the inspection to document any issues or concerns you identify. Provide clear and concise recommendations for repairs or maintenance to address any problems you find.
- Communicate with the Property Owner: Keep the property owner informed throughout the inspection process and explain any findings or recommendations in plain language. Answer any questions they may have and provide guidance on how to address any issues you identify.
- Follow Up: After completing the inspection, follow up with the property owner to review your findings and recommendations. Provide them with a written report outlining the results of the inspection and any recommended actions. Offer your assistance in scheduling any necessary repairs or maintenance work.
By following these tips, plumbers can conduct thorough and effective plumbing inspections that help to identify and address any issues with the property’s plumbing system.
Want to save money and time? Schedule a personalized FieldEdge demo today!
Now You Know: How Long Does a Plumbing Inspection Take?
Now, you have the answer to the question “How long does a plumbing inspection take?” Furthermore, you are better aware of how to approach an inspection as well as the benefits of regular inspections. Both property owners and plumbing inspectors benefit from this process.
Here a few key takeaways:
- Plumbers conducting inspections can help customers fix problems
- Plumbing inspections are critical whenever a home or business is purchased
- Keeping up on new plumbing technology is important when it comes to recommending services
By following these guidelines, you can make the most of your plumbing inspection and ensure that your clients’ plumbing systems remain in optimal condition for years to come.
By consistently performing thorough plumbing inspections and maintaining open communication with your clients, you can build trust and ensure long-term satisfaction. For plumbing businesses looking to streamline their operations and enhance service delivery, investing in the right Plumbing Software can make all the difference.
Related: How Plumbing Dispatch Software Can Save 20 Hours/Week


